✔ Free Measuring & Quotes ✔ Supply & Fit Specialists ✔ Local & Trusted Installers ✔ Fast Turnaround Times ✔ Price Match Promise
✔ Fully Insured & Guaranteed ✔ Expert Advice, No Pressure ✔ Call Now for a Free Quote 📞 01942 945147

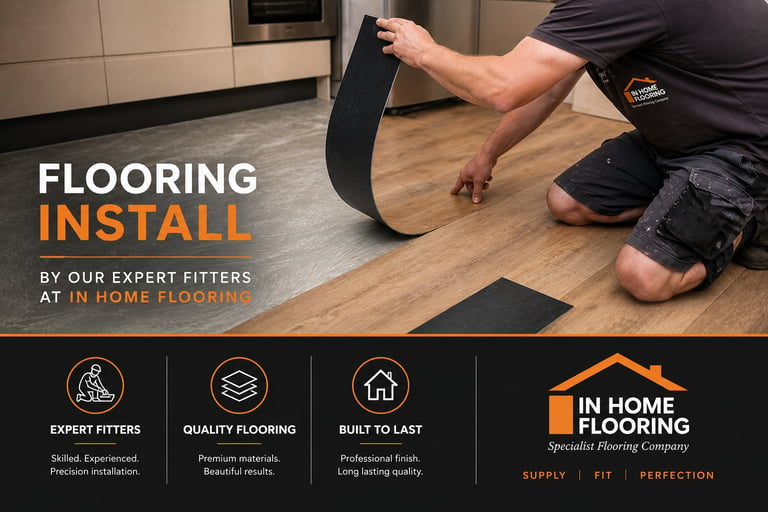
LVT Guidance
What subfloor is best for LVT (Luxury Vinyl Tile)?
The best subfloor for LVT is one that is smooth, solid, dry, and level. Suitable subfloors include:
Concrete or sand/cement screed
Plywood (minimum 6mm flooring grade, properly fixed)
Existing tiles (if level and prepared correctly)
For the best results, the surface must be:
Smooth to within ±3mm over 2 metres
Free from dust, grease, and movement
Fully dry (moisture tested where required
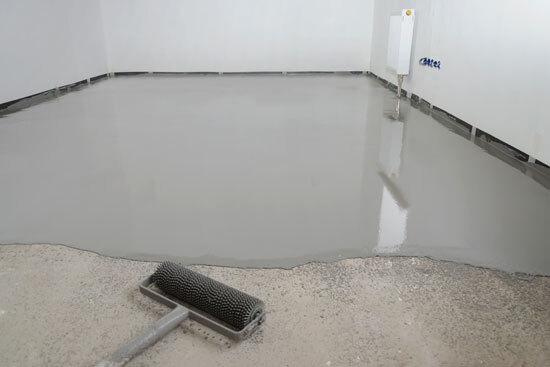
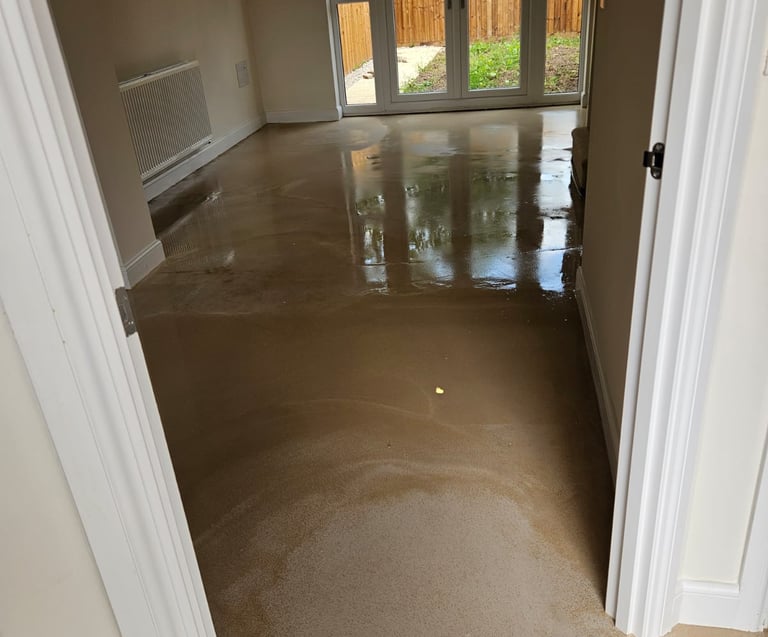
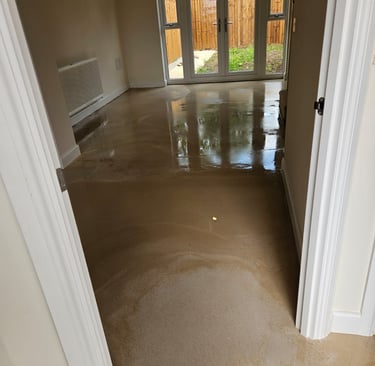
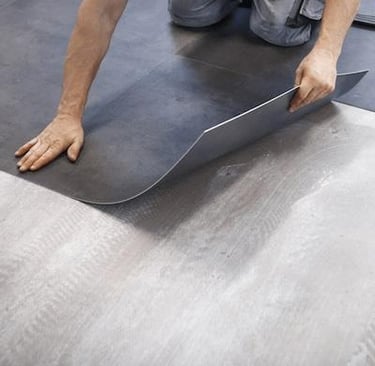
In most cases, we apply a self-levelling compound (latex screed) to create a perfectly smooth finish before installation. Proper subfloor preparation is essential to ensure the LVT performs well and lasts for years.
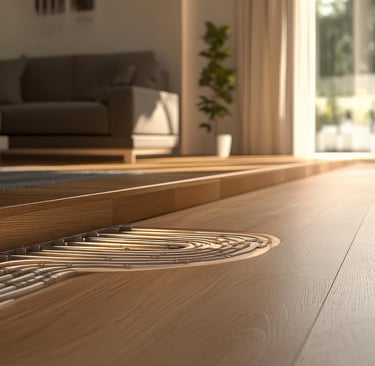
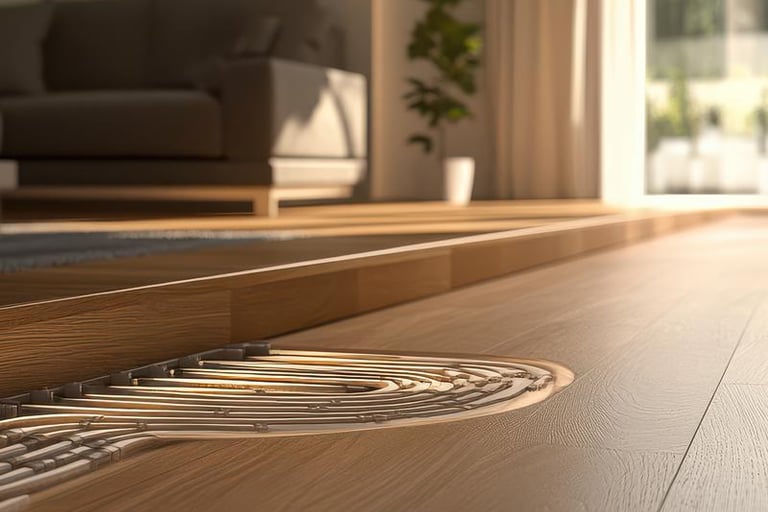
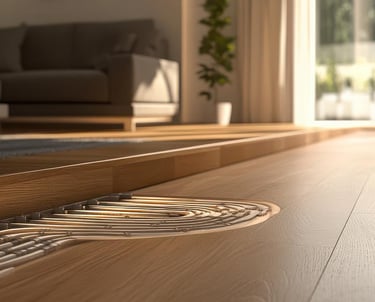
LVT is fully compatible with underfloor heating systems, both electric and water-based.
However, correct installation is key:
The subfloor temperature must not exceed 27°C
Heating should be turned off 24–48 hours before installation
It should remain off during installation and be gradually brought back up to temperature afterwards
We always check moisture levels and ensure the floor is properly prepared before fitting over underfloor heating.
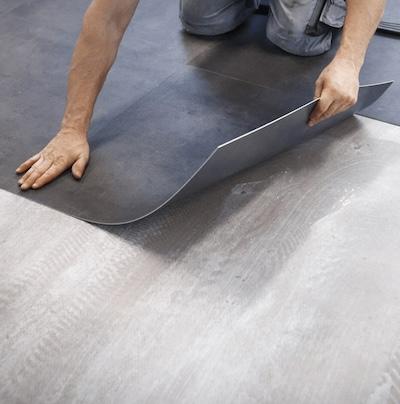
Different flooring types require specific adhesives to ensure a strong and lasting bond:
LVT (Dry Back):
Pressure-sensitive adhesive (e.g. acrylic-based)
Applied evenly and allowed to tack before laying tiles/planks
Carpet:
Spray adhesive or tackifier for domestic use
Heavy-duty adhesive for commercial installations
Vinyl Sheet:
Wet set vinyl adhesive
Requires correct open time and rolling after installation
Wood Flooring (Engineered):
Flexible polyurethane (PU) adhesive
Allows for natural movement in the wood
Carpet Tiles:
Tackifier adhesive (allows tiles to be lifted and replaced if needed)
The choice of screed depends on the existing subfloor and project requirements:
Latex Self-Levelling Compound:
Ideal for smoothing uneven floors
Flexible and fast drying
Perfect for LVT and vinyl preparation
Fibre-Reinforced Screed:
Used where extra strength is needed
Reduces risk of cracking
Fast-Drying Screeds:
Ideal for projects on a tight schedule
Can be ready for flooring in as little as 24 hours
Traditional Sand & Cement Screed:
Used for new builds or major floor levelling
Requires longer drying times
We select the correct screed based on:
Subfloor condition
Moisture levels
Type of flooring being installed
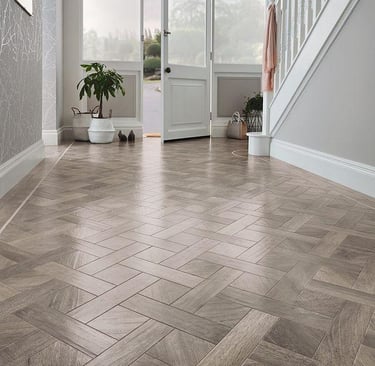
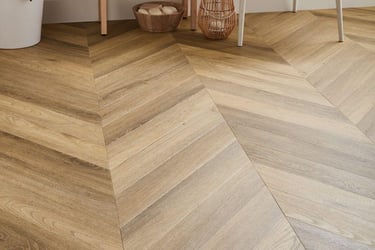
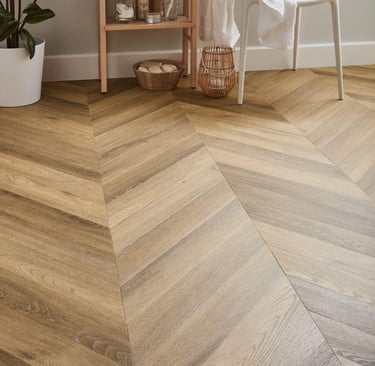
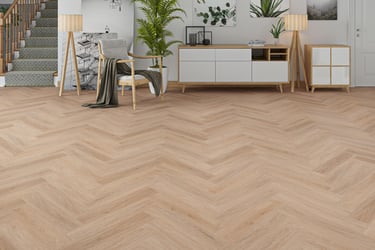
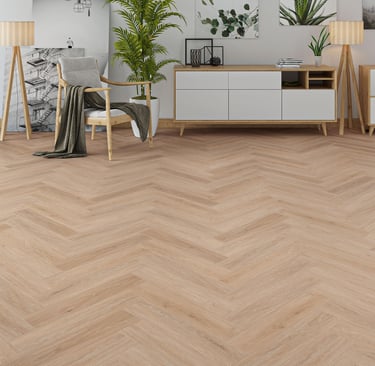
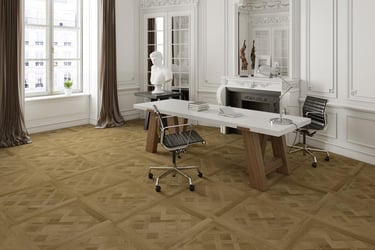
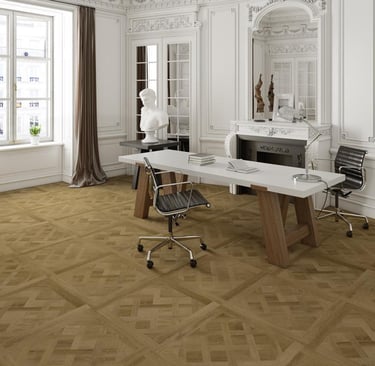
LVT offers a wide range of stylish design options, including:
Straight lay (plank style)
Brick bond / staggered pattern
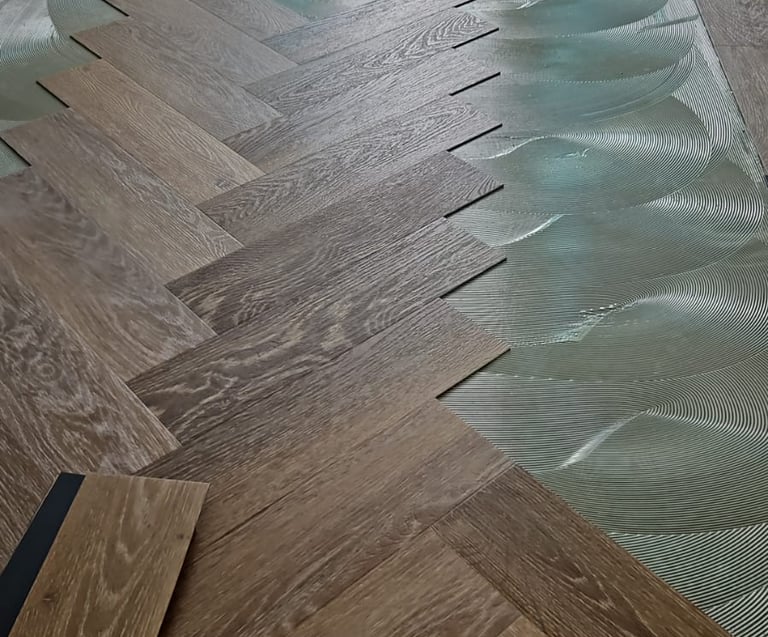
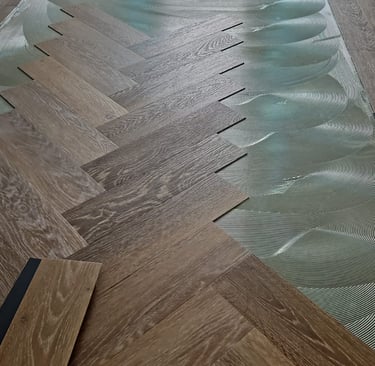
Herringbone (very popular)
Chevron
Parquet-style designs
Tile effect (stone or marble look)
We can help you choose a pattern that suits your space and creates the look you want.
Obtaining a quotation is both efficient and straightforward.
We provide LVT flooring in Leigh along with a complimentary measuring and quotation service, during which we will:
Visit your premises
Accurately measure your space
Discuss flooring options and finishes
Provide a comprehensive, no-obligation quote
You can:
Book directly through our website
Email us with your information
Contact us to arrange a suitable appointment
We are always pleased to assist you through the process and guide you in selecting the ideal flooring for your home.
What installation temperatures are required?
For the best results, flooring should be installed in a controlled environment:
Room temperature: 18°C – 27°CSubfloor temperature: minimum 15°C
Relative humidity: ideally between 40% – 65%
All flooring materials should be acclimatised in the room for at least 24–48 hours before installation...
How important is subfloor preparation?
Subfloor preparation is one of the most important parts of any flooring installation.
Our preparation process includes:
Cleaning and removing old adhesives or debris
Moisture testing where required
Priming the subfloor
Applying screed or levelling compound
Sanding and smoothing surfaces where needed
Skipping proper preparation can lead to:
Uneven flooring
Adhesive failure
Visible imperfections
Reduced lifespan of the floor
We ensure every floor is prepared to the highest standard before installation begins.
Contact Us
Send your floor plans for a personalized quote.
Click the map for directions to your local flooring showroom and trade-only counter.
Get a Free Quote for Flooring in Leigh
Pop into our showroom, give us a call, or drop us a message - we'll sort the rest.
📞 Call us: 01942945147
💬 WhatsApp: click here to message us
📧 Email: sales@inhomeflooringltd.co.uk
📍 Showroom: 32 Stephenson Square, Lord Street, Leigh, WN7 1AB
For further information regarding any of our products, please contact us via email: info@inhomeflooringltd.co.uk
For online estimates, please submit your floor plans via email: sales@inhomeflooringltd.co.uk
If you have any account inquiries, please reach out through email: accounts@inhomeflooringltd.co.uk
Company No: 16661616 VAT No: 514 7337 95


Our Valued Suppliers and Stockist Partners:
You may also connect with us through
our social media platforms:


Carpet installation in Wigan, Leigh, Astley, Atherton, Tyldesley and surrounding areas.